Smart Home Integration: Choosing a Ceiling Projector
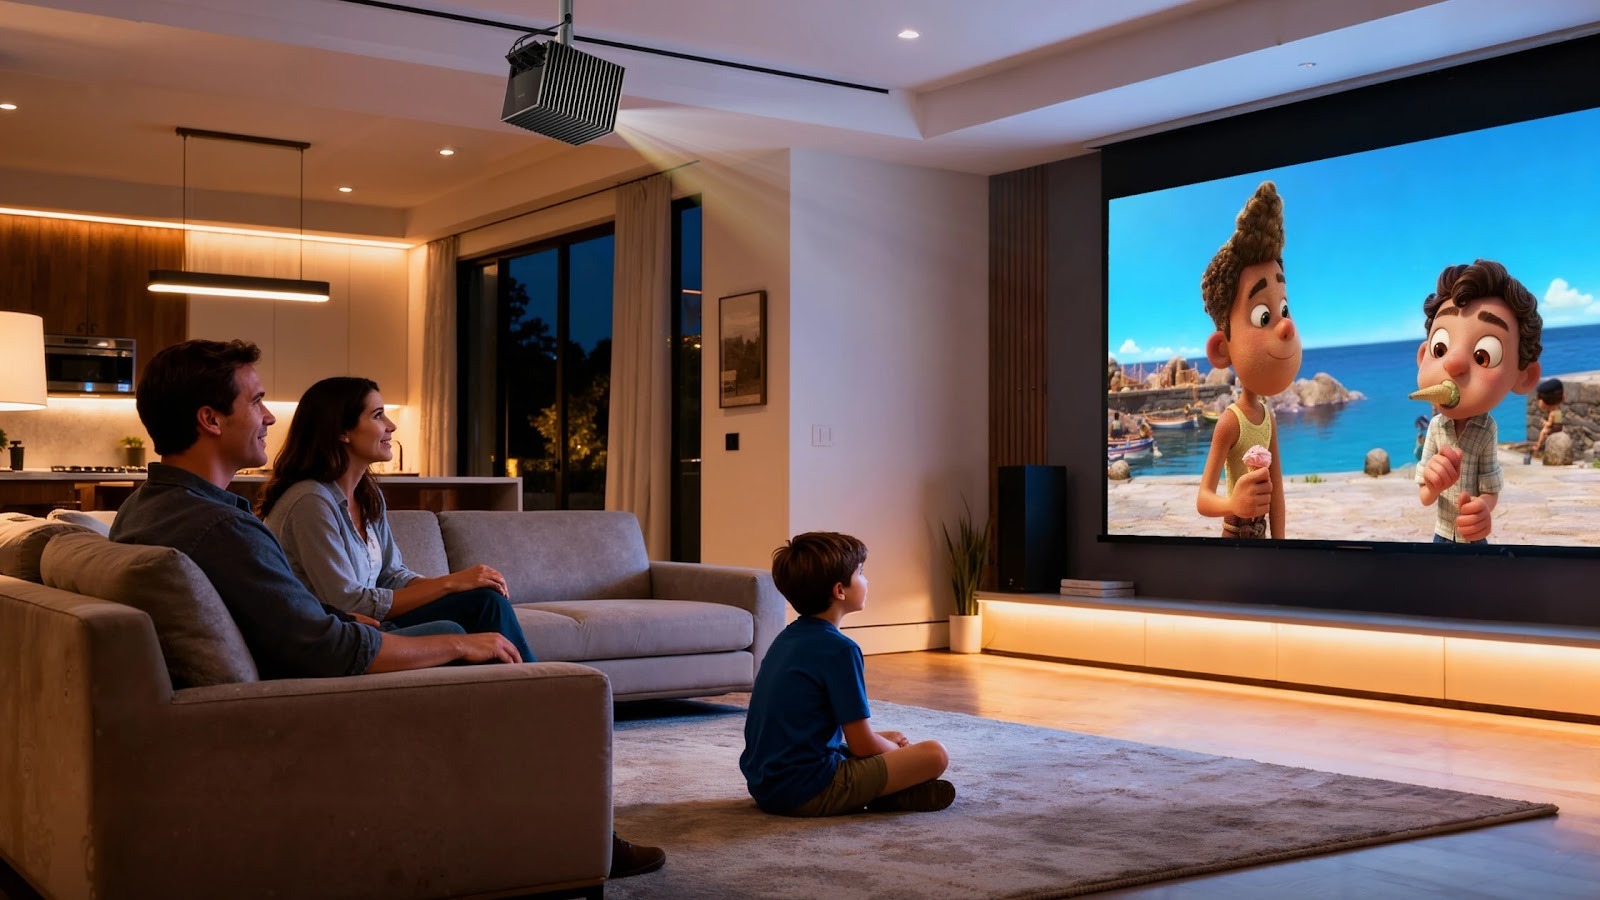
Walking into a modern living room should feel completely relaxing. You really do not want to see a massive, ugly plastic box dominating your coffee table. Endless black cables snaking across your expensive rug completely ruin the aesthetic vibe of the space. But we all still fiercely crave that massive, jaw-dropping cinematic screen experience. So what is the perfect compromise? Looking up. Mounting your primary entertainment hub directly overhead completely rewrites the dynamic of your entire house. It keeps your floor plan wide open, preserves your carefully chosen decor, and looks incredibly sleek. When you tie that overhead setup directly into your existing smart home ecosystem, things get seriously magical. You issue one simple voice command. Suddenly the lights dim down to a warm glow, the motorized blackout blinds quietly close, and your personal theater comes to life. Reaching that level of seamless automation takes a bit of upfront planning, though.
Evaluating Your Physical Space
You absolutely must measure every inch of your room before you start blindly drilling holes in your ceiling. The actual height of your room plays a massive role in how this project unfolds. Standard eight-foot ceilings usually demand a low-profile, flush mount to keep the hardware safely tucked away from tall guests. If you happen to have soaring vaulted ceilings in a great room, you will need a specialized drop-pipe extension. This brings the lens down to the exact proper viewing angle so you do not strain your neck looking up. Throw distance is another tricky beast. It dictates exactly where the unit needs to sit to hit your desired screen dimensions perfectly. Getting this wrong by even a few inches can lead to a frustrating, digitally distorted picture that drives you crazy every time you try to watch a movie. Take your absolute time here. Use a tape measure twice, and then measure it a third time just to be safe.
Smart Ecosystem Compatibility
A truly integrated modern setup feels completely effortless. You want your new gear to talk seamlessly with the rest of your house without requiring a computer science degree. Modern projection units often feature their own built-in smart platforms or connect flawlessly with the major home automation hubs you already use. Imagine setting up a single custom routine on your phone. You tap a button labeled “Cinema Mode” and the entire environment shifts instantly.
Essential Connectivity Features
You need highly robust wireless connectivity to pull this off without pulling your hair out in frustration. Look very closely at the Wi-Fi protocols to ensure smooth, high-bitrate streaming. Nobody wants to see that infuriating buffering circle right in the middle of an intense action scene. Bluetooth support is equally great. It lets you wirelessly pump audio to a soundbar or high-end headphones for late-night viewing when the kids are asleep. Perhaps most importantly, you really want HDMI ports that support advanced audio return channels. This specific feature allows your 4k projector to send pristine, uncompressed sound directly back to your audio receiver without requiring messy, redundant cables snaking all the way back down the drywall.
Selecting the Right Hardware
Not every machine on the market handles an inverted overhead setup very well. Some models struggle heavily with heat dissipation when they are flipped upside down. You specifically want to track down a dedicated ceiling projector that is engineered to manage internal airflow properly in this specific orientation. Proper cooling keeps the internal fans running whisper-quiet during silent movie scenes and drastically extends the lifespan of the internal light source. Speaking of light sources, choosing a modern laser unit means you never have to drag a heavy ladder into the living room to replace a burnt-out bulb.
Beyond the physical mounting capabilities, visual specifications still absolutely rule the day. If you are going through the intense effort of permanently mounting a device overhead, you want the resulting picture to pop off the wall. You need extreme resolution to keep those massive, wall-filling images razor-sharp. Extreme clarity ensures tiny text looks crisp and background details never look muddy or washed out. Brightness remains equally crucial to the experience. Unless you plan on living in a completely dark cave, a strong lumen output ensures your video games and sports broadcasts look vibrant and punchy, even during a lazy Sunday afternoon with sunlight spilling into the room.
Mastering the Installation Process
This is usually the exact part that deeply intimidates people. But it really does not have to be an absolute nightmare. Finding a solid wooden ceiling joist is mandatory. Never, ever trust standard drywall anchors to hold heavy, expensive electronics suspended directly over your head. It is simply not worth the catastrophic risk. Once you locate that structural stud and secure the heavy-duty metal bracket, your next major hurdle is hiding the inevitable mess of wires.
Checklist for a Clean Setup
To achieve that ultra-premium, invisible tech aesthetic that interior designers love, you should follow these precise steps:
- Map out your wire paths and measure cable lengths before cutting any drywall.
- Use recessed power outlets installed directly behind the overhead mount to completely hide bulky electrical plugs.
- Run high-bandwidth video cables through flexible in-wall conduit pipes, making future hardware upgrades insanely easy.
- Double-check your optical lens shift and physical keystone settings before fully tightening down the final bracket screws.
Tying a massive digital display directly into your automated smart home feels exactly like living in the distant future. It strips away all the annoying friction of setting up a traditional, clunky home theater. You no longer have to fumble in the dark with five different remotes or accidentally trip over a stray speaker wire. The hardware just vanishes seamlessly into the architecture of your room until you actually need it. Once you finally experience that incredible level of seamless, voice-activated entertainment, you will never want to go back to a standard television sitting on a dusty piece of furniture.